


6 Tips to Master Real Estate Interior Photography
Mastering real estate interior photography isn’t reserved for seasoned professionals. With practical strategies, anyone can highlight a property’s true potential. The goal is to showcase each space so buyers can picture themselves living there.
If you’re ready to sharpen your skills, stick around as we break down a few effective tips that make capturing beautiful interiors easier than ever.
Essential Equipment You Need to Get Started
The right equipment transforms your photos from average to professional. Start with a DSLR or mirrorless camera, paired with a wide-angle lens. This ensures you capture more of the space without warping proportions. A sturdy tripod is essential for sharp, evenly-lit shots and enables consistent framing across images.
Lighting gear can also help when natural light isn’t sufficient. Softbox lights or portable LED panels reduce shadows and add brightness to dim areas.
For cutting-edge results, consider using 360-degree capture capable cameras designed for the real estate industry to snap vivid HDR images for listings that really pop. These immersive visuals provide viewers with a virtual walk-through experience.
Don’t forget accessories like extra batteries, memory cards, and a lens cleaning kit, as they keep your workflow uninterrupted on long shoots. Investing in these tools enhances not just quality but efficiency too.
Framing the Perfect Shot
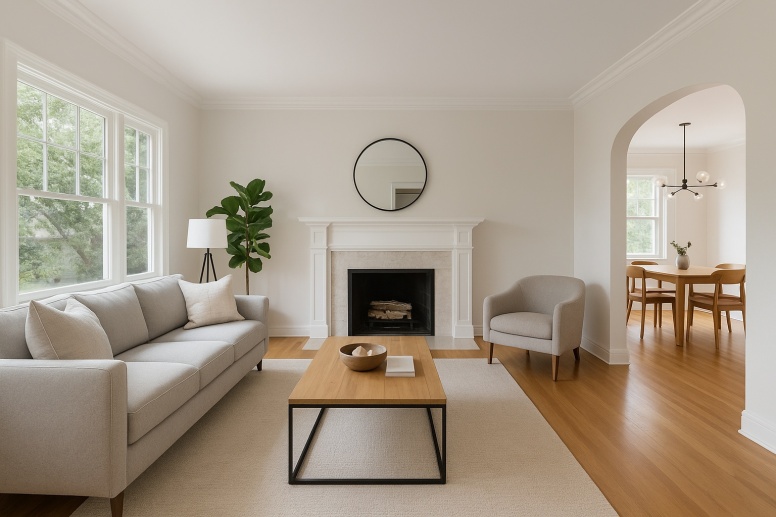
Framing a shot involves more than just pointing the camera at a room. Begin by evaluating the layout to identify key features that are worth highlighting, such as an arched doorway or a natural flow between spaces. Position your camera at eye level for most shots, keeping vertical lines straight to avoid distortion. Use furniture edges or windows as guides to center your frame and maintain balance.
Step back whenever possible, allowing space in the composition to showcase depth. Avoid cutting off important details like rugs or artwork. Thoughtful framing provides viewers with context on how rooms connect and what makes each unique.
Leveraging Natural Light for Better Results
Natural light can make interiors look inviting and realistic. Open curtains or blinds to let sunlight stream in, but avoid shooting during harsh midday hours when shadows are sharp. Late morning or early afternoon provides softer, even lighting.
Position yourself with the light source behind you for well-lit shots, ensuring windows don’t overwhelm the exposure. To balance brightness between rooms and exterior views, adjust camera settings like ISO and shutter speed manually.
If a room feels dim despite daylight, turn on ambient lighting to complement natural tones without overpowering them. This simple approach enhances warmth and clarity throughout your photos.
Mastering Angles and Perspectives in Tight Spaces
Shooting in small spaces requires creative angles. Position the camera at chest or waist height to make rooms appear more open. Use corners to capture wider perspectives, showing as much of the room’s layout as possible.
Avoid standing too close to walls; stepping back creates depth and avoids a cramped feel. Wide-angle lenses help showcase tight areas, but use them sparingly to prevent distortion.
When shooting hallways or bathrooms, focus on straight lines, as crooked walls can distract viewers. Proper positioning ensures that even compact rooms feel functional and spacious, while also highlighting their practical potential to prospective buyers.
The Role of Decluttering in Real Estate Photography
Clutter distracts from a home’s features and makes spaces feel smaller. Before shooting, remove personal items like photos or knick-knacks, keeping surfaces clear and organized. This is good for photography purposes, as well as for selling a house quickly.
Focus on clean lines by straightening chairs, fluffing pillows, and folding blankets neatly. Highlight furniture that complements the space while minimizing excess décor. Kitchens should have empty countertops aside from minimal props like a fruit bowl or coffee maker.
Decluttering helps buyers visualize themselves in the property by presenting it as neutral and inviting. This simple step transforms photos into polished visuals that emphasize functionality without distractions holding attention away from key selling points.
Post-Editing Techniques to Enhance Your Shots
Editing is where your photos truly shine. Begin with basic adjustments, such as correcting brightness, contrast, and white balance, to match natural tones. Straighten vertical lines in reputable editing software to fix any distortion from wide-angle lenses.
For a polished look, remove minor distractions like power cords or scuff marks using tools like cloning or spot healing. When shooting in challenging lighting, blend bracketed exposures for evenly lit HDR images.
Consistency across all edits maintains a professional feel throughout the listing. Well-edited photos emphasize details and create a visual appeal that draws attention online, helping potential buyers imagine living in the space effortlessly.
Mastering real estate interior photography combines preparation, technique, and attention to detail. Each tip helps elevate your skills while showcasing a property’s unique charm.
With thoughtful framing, proper lighting, and polished edits, you can create captivating images that draw buyers in. It’s all about presenting spaces with clarity and appeal.


?")


")

0.0808